Tuesday, April 28, 2009

Scissor Distressing Technique

or How to Beat Up Paper With Scissors

I have used this technique many times before. However, It was brought to my attention that not everyone knows how to do this. This is why I love your feedback and questions, it makes me realize how much I take for granted. So never feel bad about asking because if it occurred to you it probably did to someone else as well. So I have created this little tutorial to show you what I mean by Scissor Distressing.

You will need your paper/cardstock, some distressing inks and........are you ready for it? The secret tool..................................

Your SCISSORS! I bet that came as a surprise didn't it.

1.There are two ways to do this and you will find and choose which way makes you most happy. For the first method open your scissors slightly to create a "V" shape. Place your paper or cardstock at the point and drag it. Be bold and do not worry about tearing or cutting your paper, after all this is the whole point behind doing this. You will notice that there are several companies out there with tools that will do this for you. Yes I own a couple of versions of them but I find my natural instinct is to return to my trusty scissors.


2. The second method is opening your scissors up as if you were going to curl ribbon. Then place the edge against the paper/cardstock and pull toward yourself. Once again don't worry about rips and tears after all this is what you wanted a distressed and vintage feel. This method is my personal favourite to use.

Try both methods and find the one that you feel most comfortable with but don't forget the other as they both have some unique qualities to the finish they give your work.


2. After you've finished all the edges of your paper/cardstock it will look somewhat like this. You can absolutely use your paper as it is now or you can add some depth and aging to it with the next step.


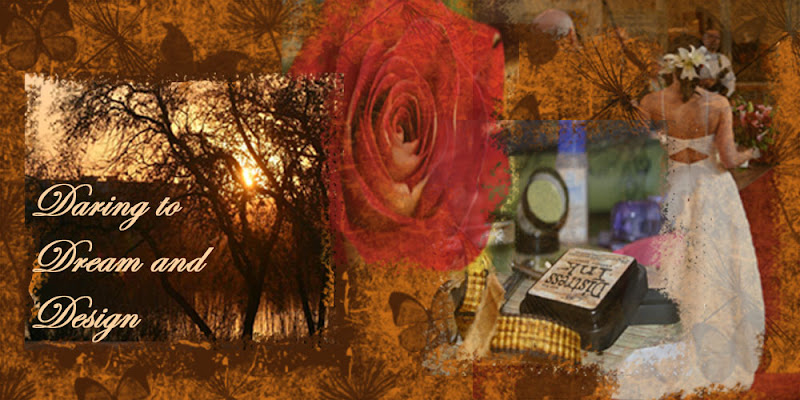
3. Pull out your distressing inks and choose a combination that will help your finished layout or card flow together. I almost always use Black Soot or the Black Walnut as my darkest color then choosing the lighter color to enhance the colors of my layout. Start with the lightest color and either using a sponge or using direct to paper add your ink until your happy. Then apply your mid colors if your going to use more than two. Finally add your darkest color to the edges to really make the cuts and tears pop up.

**** Please note that you can also use other inks for accenting your distressed edge. Just be sure you know and understand how they behave so you can get the look your wanting for your project. ***

I hope that this has been helpful and that you will find yourself using it , if yout going to be working along side of me in the coming months you will see that I do use it ALOT.

Sunday, April 26, 2009

Creations From the Water Distressing Technique


Good Morning Everyone!

It is a Sunny all be it chilly Sunday morning here in Toon Town. I am taking advantage of the peace and quiet that is currently reigning over my household to share with you the layout and card that I created using the water distressing technique that I shared earlier this week with you.


This layout is called Metamorphis is not just for Butterflies and I chose the photo to showcase the Dusk to Dawn transitioning.

The the layout itself morphs as the photo slides out to share with the reader a journaling pocket.

Finally the journaling itself talks about the way I feel like a bit of a caterpillar curled up in a Coccoon waiting to find out how I will turn out with all of the changes going on in my life.

I hand made the flowers in the bottom right hand corner using the Graphic 45 papers, Rangers Stickles, a Prima flower that I altered a link from a vinatge bracelet that was missing a stone. Of course when you are looking at my work you can be assured that somewhere I have pulled out the distress inks.For those of you that are afraid to stamp on your layout incase it doesn't turn out "perfect", I want you not to be afraid but to see it as a way to make a "Creative Alteration" The butterfly on the left... the original was not good.....Blurred messy and barely recognizable......***Note: Malamute Dogs that are demanding attention are not reccomended for good stamping, Especially if they have a tendancy to move your arm***** Well its not like you can erase permenant ink. So grab your stickles and decorate it like you ment to......... Then I stamped another butterfly cut it out and jazzed it up and put it on top. So it looks like I have an amazing multi-dimensional butterfly that looks as if it was planned. If you tell anyone I messed up this layout I will deny deny deny.............never a mistake in scrapping just a creative alteration.


A word of warning when you are using the water to distress your layout, your paper becomes very susceptible to rips and tears depending on how much water and how hard you are when you crumple the sheet. But if it tears don't worry you have yet another creative alterations coming your way. In my case.......... I turned it into a journaling block opening.

Have a wonderful Sunday and if you have any more questions just leave me a comment or drop me an e-mail.

Thursday, April 23, 2009

Water Distressed Inking Technique

I have been asked how I create backgrounds and achieve some of the really unique looks I do on my layouts. This is in no way my own idea but I truly don't recall where I learned these techniques. What I do know is that they make me happy and work unique. So to whomever I learned these tips from thanks.

1) Start with a light colored cardstock, I typically start with white or ivory. In my layout, I started with white cardstock. A smooth cardstock is easier to work with than a textured one.


2) Get a few colours of Tim Holtz's distress inks. I am sure there are others out there (so they tell me but I work with the Ranger line). Then using the pads directly I randomly ink all over the card stock.

Then using a make up sponge or the Ranger Ink applicator I pick up ink from the pad and start rubbing it on the cardstock, blending the colors together. In my layout, I've used some sponges and a few combination of distress ink to do it. (vintage photos, frayed burlap, tea dyed, scattered straw, brushed corduroy, aged mahogany and black soot).

Work it until you are happy with the general look but don't panic if it isn't perfect because it is not going to look like this for long.
3) At this point I did some scissor distressing.

4) Before I water distress my new pattern paper for my layout. I stamp images using my permanant ink. If I want the image to distress as well stamp using a darker distress ink. I have stamped using both types of pads.

5) Just use your fingers and sprinkle some water to splatter randomly all over the inked and stamped card stock. Then take a dry paper towel and pat it down the longer you leave the water the greater the "blotch" look.

Before the paper dried, I crumpled it and then Used a ink pad to wipe over the wrinkles.Isn't this cool? Try it! Show me your projects I am excited to see what you have created with them.


Wednesday, April 22, 2009

Well things are slowly improving!

Hello everyone,

Well it looks like I am slowly getting control back from the cyber gremlins and being able to make changes and postings without freezing the computer. That or the Gremlins are just toying with me for a few short minutes.

So I promised to start teaching some of my distressing techniques starting with the use of the Cuttlebug. I had it all ready to load and then Bob's oldest son started asking me questions and I realized that I was making an assumption that everyone had some basic knowledge and understanding which may not be the case.

So rather than post and leave you confused and wondering if you have never seen one or used one I have chosen to delay this process for a few more days while I re-do my tutorial.

I will leave you with some of my latest work the Circle Journal for the Western Canadian Girls from Just Cre8.

For those of you that don't know what a Circle Journal is.......... A Circle Journal (CJ) is a series of books that a group of people create. Each member creates his or her own book, choosing a theme or style. There is a sending order designated by the "chairperson" and you forward yours to your designated person and they will follow your instructions and when they are done they will forward your book to the next person and so on until your journal and those of the others have passed through everyones hand resulting in a completed album. The photos that you are seeing below are of my journal before any of the other ladies have done any work.


I love the Graphic 45 papers, Prima Products and Tattered Angels not to mention Tim Holtz/Ranger products. They blend together so well and produce beautiful vintage and grunge/distressed work. Which of course is right up my alley.

I am looking forward to sharing more work with you in the coming days as I continue to beat the Gremlins at their own game.

Have a great Tuesday everyone.

Monday, April 6, 2009

The Winners Are

The winners of the Altered Memo Book are:

Aeify said...

All of the Memo books are BEAUTIFUL!!! Anyone would be honored to have one. Congrats on the Grapic45!! You deserve to be displayed!!!


The Savvy Scrapbooker said...

Thanks for the opportunity! I missed out on the retreat in Saskatchewan, but how great to have my own little piece of the fun!


Shelley said...

well Dawn, I just love your stuff so anything you demo / explain is going to be awesome!!

Shell


Anonymous said...

Okay Dawn...I am doing whatcha was asking thos BG to do....now lets hope I can be solucky to get my hands on one of those original journals. They are gorgeous.

Jan


Holly A said...

Congratulations on the Graphic 45 Dawn. That's awesome - and your work is so perfect for their products. These journals are stunning too! So beautiful; I totally love them!


david and michelle said...

the memo books look awesome! and 'specially like the one for Dave! looking forward to the clip of monday morning!!!


Thank you to all of you for entering my giveaway. I would like each of you to email me at (hueser@ shaw.ca) your snail mail address's and I will start working on them after the Easter weekend.

Friday, April 3, 2009

At long last and several attempts later we have the sound clip from Rambling Dave.

March 23rd Sound Clip _ the Monday after Saskatchewan Crops

March 30th Sound Clip - Presenting the Book

**** Please note that there is some lead up music etc., be patient, and then laugh*****

I haven't forgotten about the tutorial that I promised you all but there has been some technical difficulties. Nothing a new @$#%#@$%#@%$@ computer wouldn't fix. Seeing as that is not going to happen.......... I have to struggle with making this one work.